|
There is but one utility available to the community that enables us to make custom paths and queues for RCT3 and that is RCT3 Path Creator. Paths and queues made with this utility will place and function just like those that come installed with our game.
|
|
|
|
|
|
|
|
To use this utility a sound understanding of importing CSO’s with colorable textures and with shared textures is required beforehand. In fact, those who have experience in using the Importer will find that Path Creator throws a curve ball into what is already known about the process of importing. A tutorial that outlines how to use the Importer would be made up of several chapters so no mention of the importing process will be made in this article beyond what’s needed to use Path Creator.
|
|
|
|
|
|
|
|
Path Creator is an executable so it does not need to be installed. Once you’ve started a project do avoid renaming your directories or moving folder contents, although after you’ve done with them and this utility is closed you’ll experience no problem renaming your project files. Path Creator saves project files in a CPATH extension and you will find Windows automatically associates Path Creator’s icon with saved project files. If you decide to move Path Creator to a different place on your computer you will need to move the entire contents of Path Creator’s folder rather than simply moving the EXE file.
|
|
|
|
|
|
|
|
Path Creator comes with a set of handy help files that describe much of the process of making our own paths and queues. When Path Creator is launched we will be presented with three options. We can create:
|
|
|
|
|
|
|
|
|
►
|
a path set with basic pieces,
|
|
|
►
|
a path set with extended pieces, or
|
|
|
►
|
a queue set with the option to add one extended piece.
|
|
|
|
|
|
|
|
We will be unable to begin a project with Path Creator until we’ve entered a project name. Once begun, projects can be saved then re-opened later for further editing. The files in re-opened projects can be updated by simply loading into Path Creator the newer model versions you’ve created which will overwrite the Path Creator links to the older files accessed by your Path Creator project. When you’re done working on one project you will need to open another instance of Path Creator to start afresh with a new project. Existing project files may be re-opened in Path Creator without opening another instance of the utility.
|
|
|
|
|
|
|
|
Path Creator does not enable us to select our own in-game prices so the paths and queues that we make will show up in our parks costing and refunding us the default path and queue prices.
|
|
|
|
|
|
|
|
Let’s get started.
|
|
|
|
|
|
|
|
Models: Coordinates & Orientation
|
|
|
|
|
|
|
|
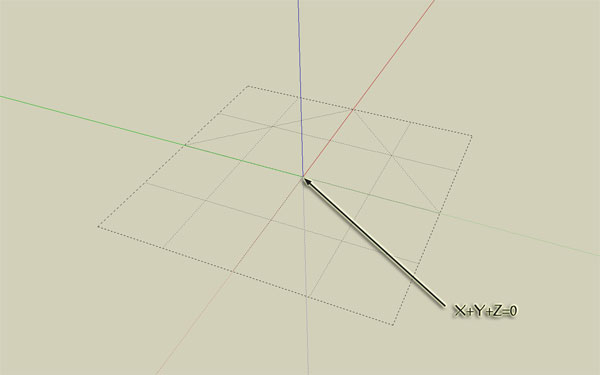
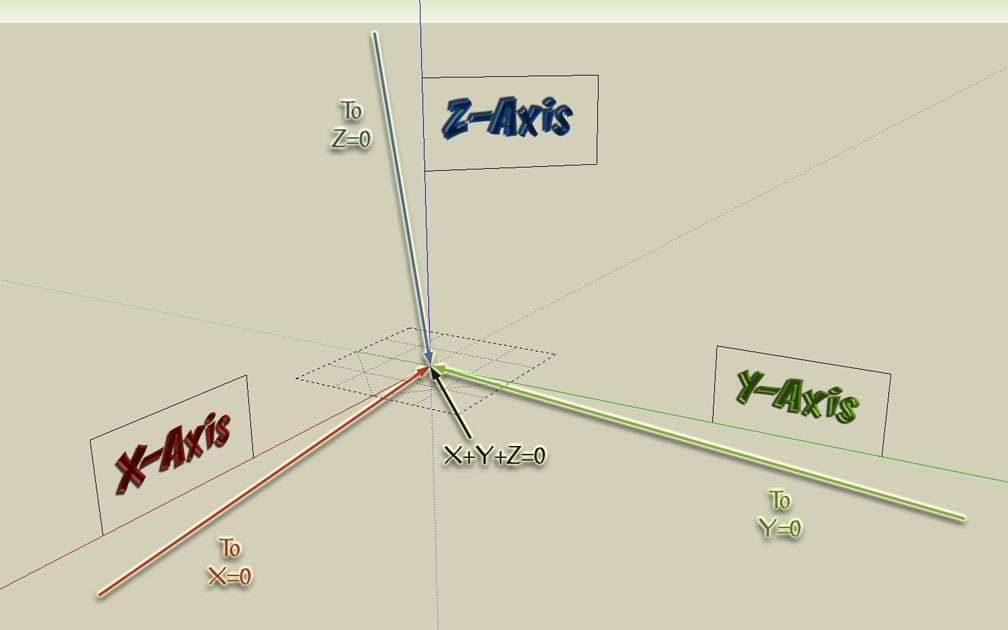
The first step in our journey towards making our own paths and queues is to create the models that make up the different parts of our path or queue system. Models created for Path Creator should start out completely imported as if they’re standard CSO’s. In SketchUp, path and queue models need to be exported to ASE placed at Z=0 with the path tile centers at X+Y=0.
|
|
|
|
|
|
|
|
|
|
Path and queue models exported off-center to ASE will appear off-center in your game. This same problem will occur with path and queue models that are excessively raised above Z=0. Such pieces won’t join or align correctly with the other pieces in your path or queue. For your convenience we've created a Reference Slider that clearly identifies the Z=0 plane should you find it challenging to draw a mental picture of this in 3D.
|
|
|
|
|
|
|
|
The easiest way to ensure your path is exported correctly at the abovementioned coordinates from SketchUp is to use the full tile marker guide and to place your path tile directly on the grid. Conveniently, the marker guide is 4m x 4m and a path tile is also 4m x 4m, as is a single terrain tile in RCT3.
|
|
|
|
|
|
|
|
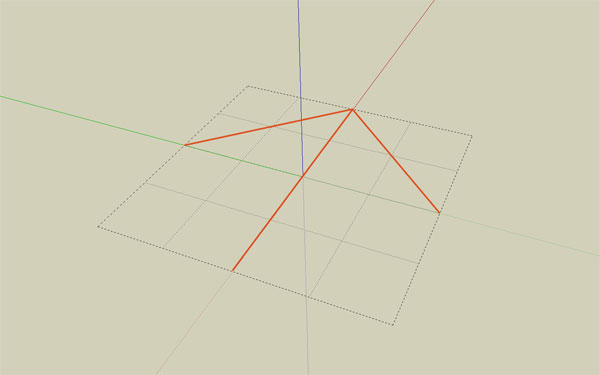
Do ensure when making your own pieces that your individual path and queue creations are orientated correctly in your modeler. The RCT3 SketchUp PlugIn can create a full tile grid enabling us to line up our models in a meaningful way. There are angled lines on one side of the grid suggesting an arrowhead which aids in orientating our grids.
|
|
|
|
|
|
|
|
|
|
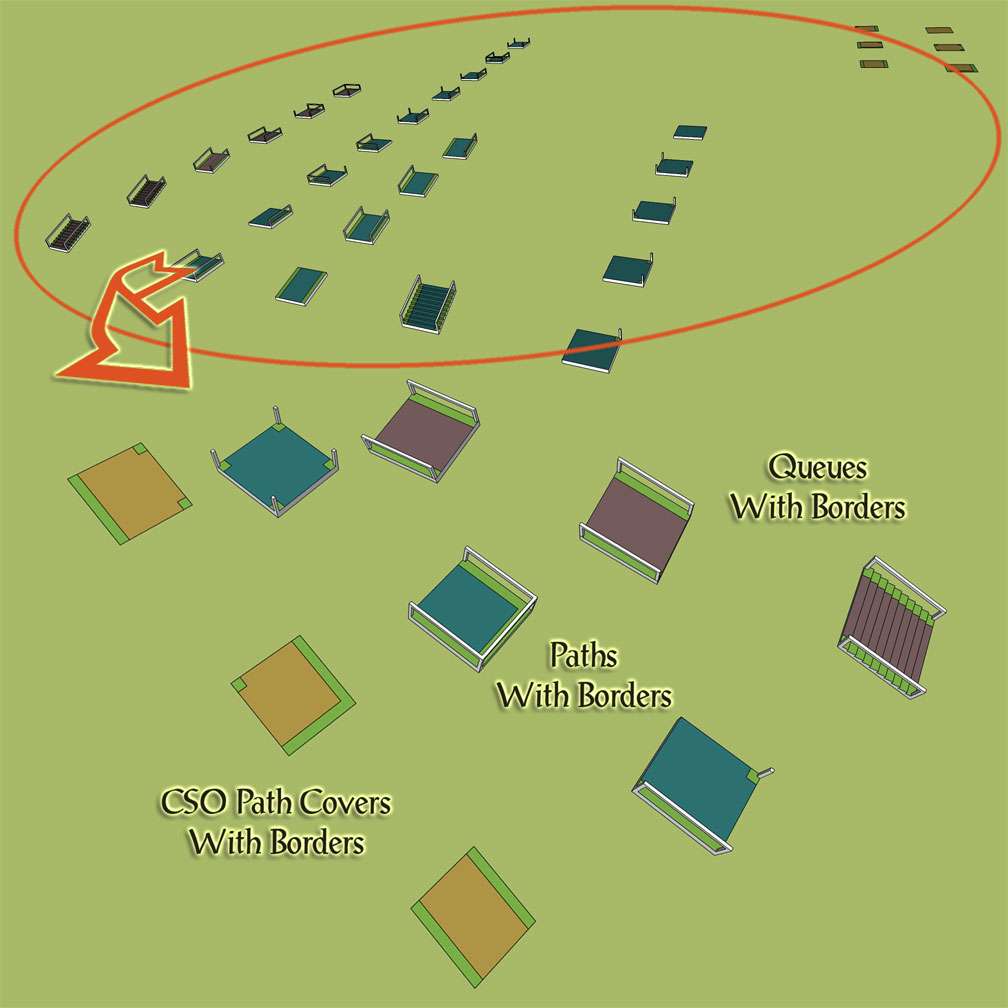
We’ve created a SKP file with representations of each path and queue piece. Each piece in our Example SKP File comes with a copy of this guide so that you can confirm the orientation direction for exporting to ASE. The link to download this file is at the end of this article. The modeller we've used throughout this article is SketchUp 2013.
|
|
|
|
|
|
|
|
|
|
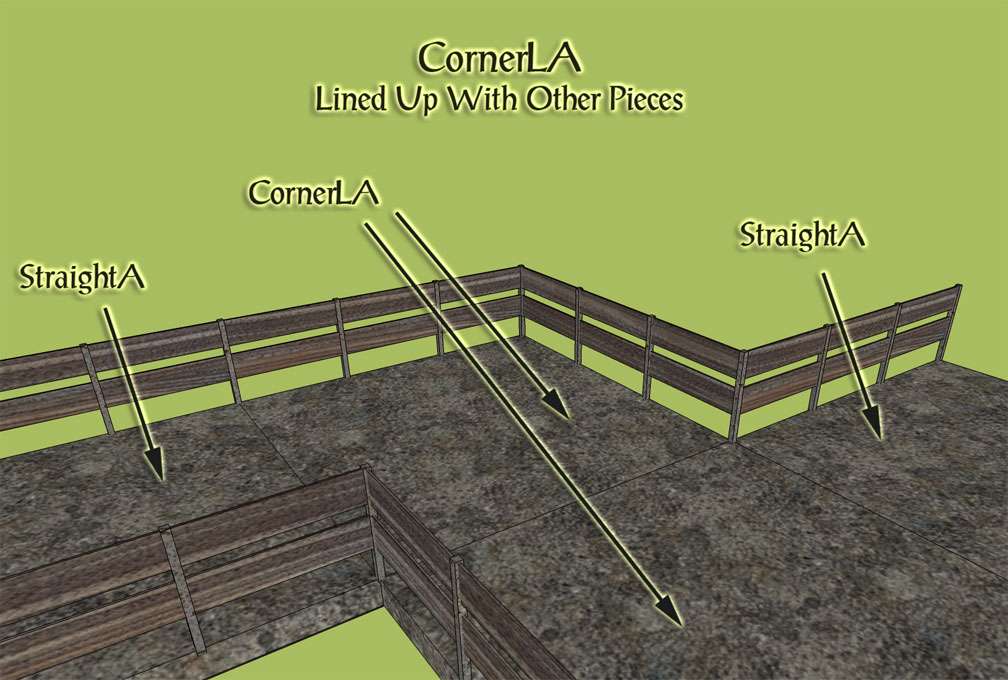
Prior knowledge of how to line up your CSO pieces in SketchUp will be helpful in making your path and queue models so they place together seamlessly when installed in your game. Any colorability and texture styling will need to be set up through the Importer when creating your pre-imports.
|
|
|
|
|
|
|
|
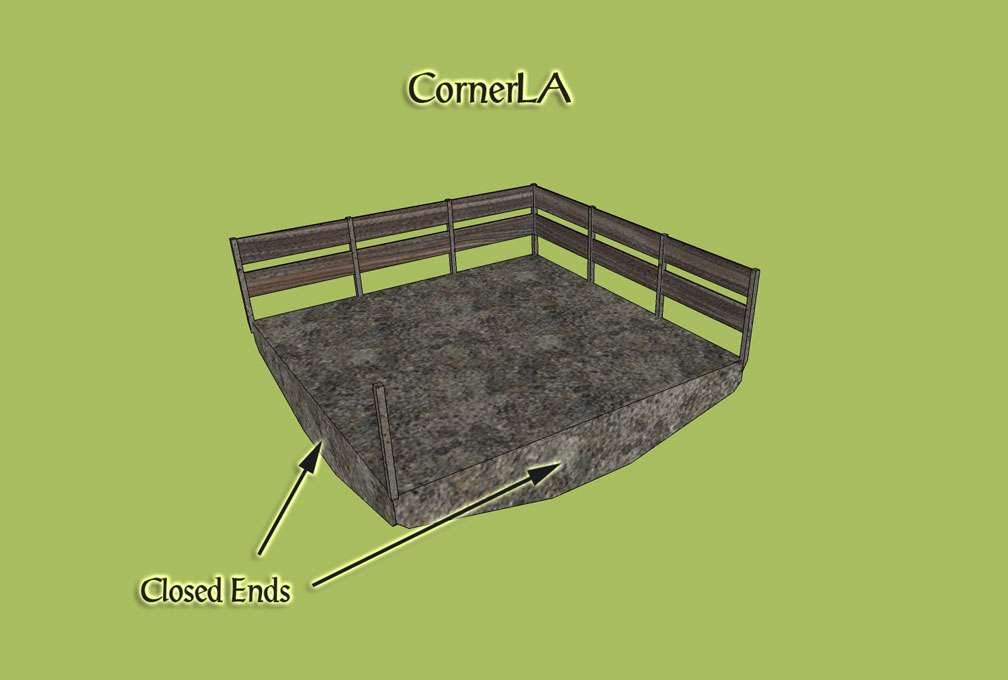
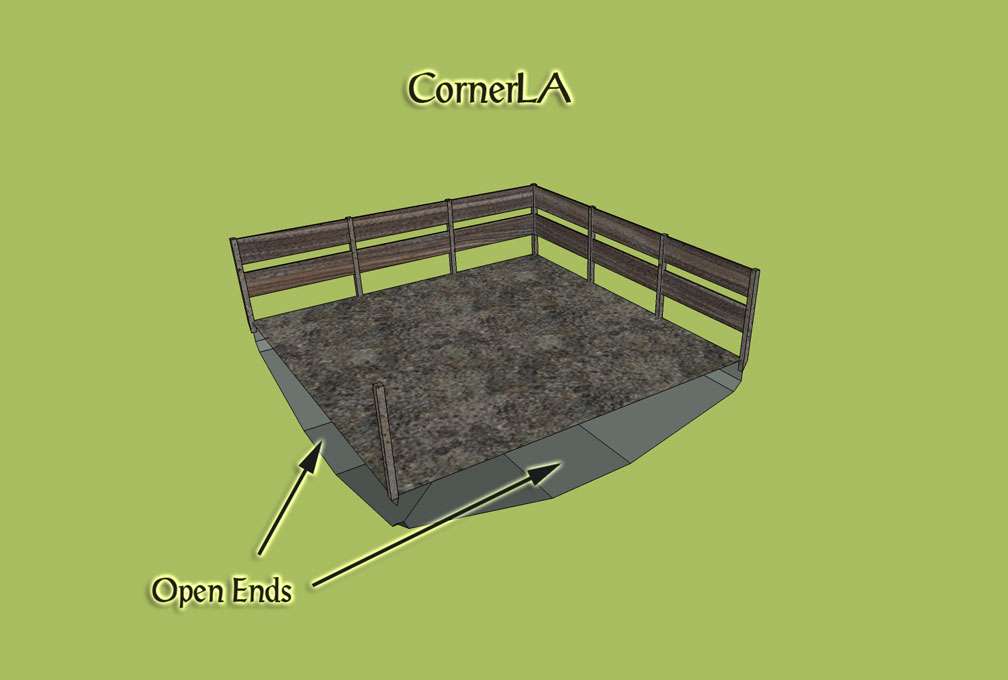
It’s entirely up to you whether you want your path and queue models to be open-ended or to have closed ends. Situated where the individual models butt up against each other, these ends won’t be seen during game play.
|
|
|
|
|
|
|
|
|
|
|
|
|
|
The Flat piece should always be created with closed ends as the game uses this piece for ride baseplates. Do consider that if you give all your other pieces open ends this will be a little more poly economical in a park in which there are several hundred path and queue pieces.
|
|
|
|
|
|
|
|
Nineteen individual path pieces are required to make a functional path in addition to six queue pieces being required to make a working queue. Once they’re pre-imported, standard path models and queue models can be auto-loaded into Path Creator. If you choose to add them, extended path models need to be loaded manually.
|
|
|
|
|
|
|
|
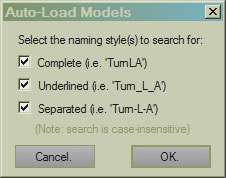
Auto-loading queue and standard path models into Path Creator is possible if you name and import your models following the naming convention as set out by DarkHorizon in the help files. When auto-loading the models for your paths and queues Path Creator will want to know in which format you’ve named your pieces:
|
|
|
|
|
|
|
|
|
|
Because Path Creator won’t make paths and queues both in the same project, you may find it more convenient to pre-import your path models separately from your queue models.
|
|
|
|
|
|
|
|
Texture Specifics
|
|
|
|
|
|
|
|
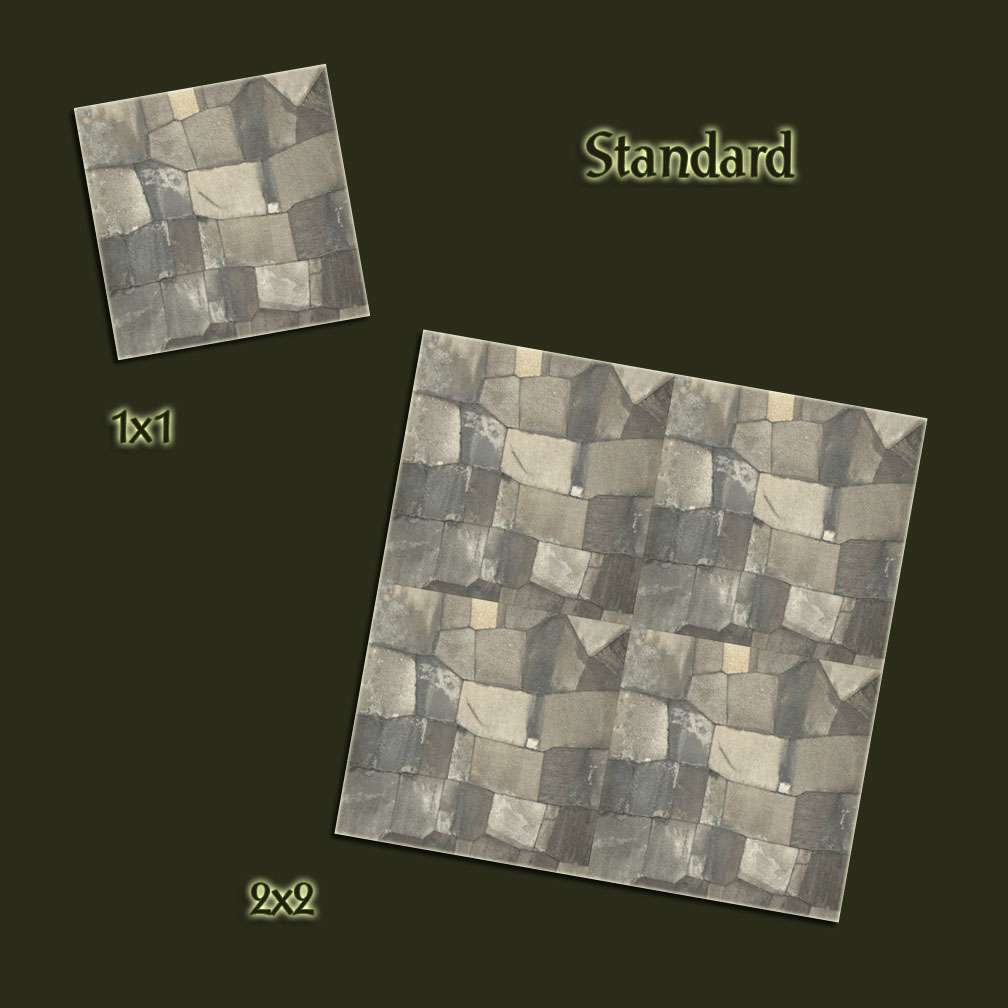
Textures used in Path Creator and for the paths and queues on your models should be tileable. Tileable textures are better known as seamless textures. Here is an example of a standard texture and an example of a tileable, or seamless, texture:
|
|
|
|
|
|
|
|
|
|
Note when four of the standard texture are placed in a 2 x 2 arrangement that one can see the edges or seams where each 1 x 1 meets. On its own as a 1 x 1 this texture is a suitable path texture but it is not a good candidate for creating paths. Following is a seamless texture:
|
|
|
|
|
|
|
|

|
|
When arranged in a 2 x 2, one can’t tell with this texture where the edges of each 1 x 1 meet. As one can’t observe the seams in this 2 x 2 arrangement this texture is known as a seamless texture. This is the sort of texture you should use for your path and queue models. There are several websites from which seamless textures may be obtained. If you already have a standard texture and want to make it over into a seamless texture a Google search will bring up several tutorials showing how to make textures tileable should you need to know how to do this.
|
|
|
|
|
|
|
|
You should confirm that your texture is seamless before using it in your Path Creator project. This can be done in Photoshop by offsetting the texture to see if any seams can be noticed. Do pay special attention to the image mode required for the formatting of the queue texture when saving it. Another specific to observe is the size and placement of the icon texture. Any experience previously gained with textures and icons with the Importer will stand you in good stead when reviewing these files and getting your textures ready for Path Creator.
|
|
|
|
|
|
|
|
Texture Style Options
|
|
|
|
|
|
|
|
It’s possible to make paths and queues with, for example, chrome posts, glass railings, and glossy tiles. The texture styles will need to be set up through the Importer when pre-importing your path & queue models.
|
|
|
|
|
|
|
|
Ground-Level Textures
|
|
|
|
|
|
|
|
Ground-level textures are textures that are loaded directly into Path Creator for use throughout our parks as queues and as paths that are placed directly onto our park’s terrain. After they’ve been created/edited in the image editor of our choice these textures can be included in our Path Creator project. There are times that queue textures will need to be saved in an indexed image format. To see which textures need what method of saving our handy table gives additional information about using textures with Path Creator.
|
|
|
|
|
|
|
|
In his Resources folder DarkHorizon has included
|
|
|
|
|
|
|
|
|
►
|
two Path A templates,
|
|
|
►
|
two Path B templates, and
|
|
|
►
|
a Queue template.
|
|
|
|
|
|
|
|
These easily convert into channels in Photoshop for use as convenient clipping masks.
|
|
|
|
|
|
|
|
When loading ground-level textures directly into Path Creator, if you would like your ground-level Path Texture A or your ground-level Path Texture B to display any transparent areas, so that the transparent areas do not display as white in your game you should save your texture in a PNG format that includes transparency. While it is possible in your image editor to save an indexed image with transparency this is not advisable when saving the same texture to load into Path Creator because such an image will display in the park as invisible.
|
|
|
|
|
|
|
|
To make your projects a little more interesting, along with our Example SKP download we’ve included six additional path templates.
|


